Taking part in a game jam or short-term project can feel like a whirlwind where everyone is winging it. While some may say it is all part of the experience to be spontaneous and pull all-nighters, what if I told you it doesn’t have to be that way? In this post I will break down the stages of a jam and the tools which can help things run smoothly, whether you are a sole producer or regular dev wanting to keep things organised.
1: Generating Ideas
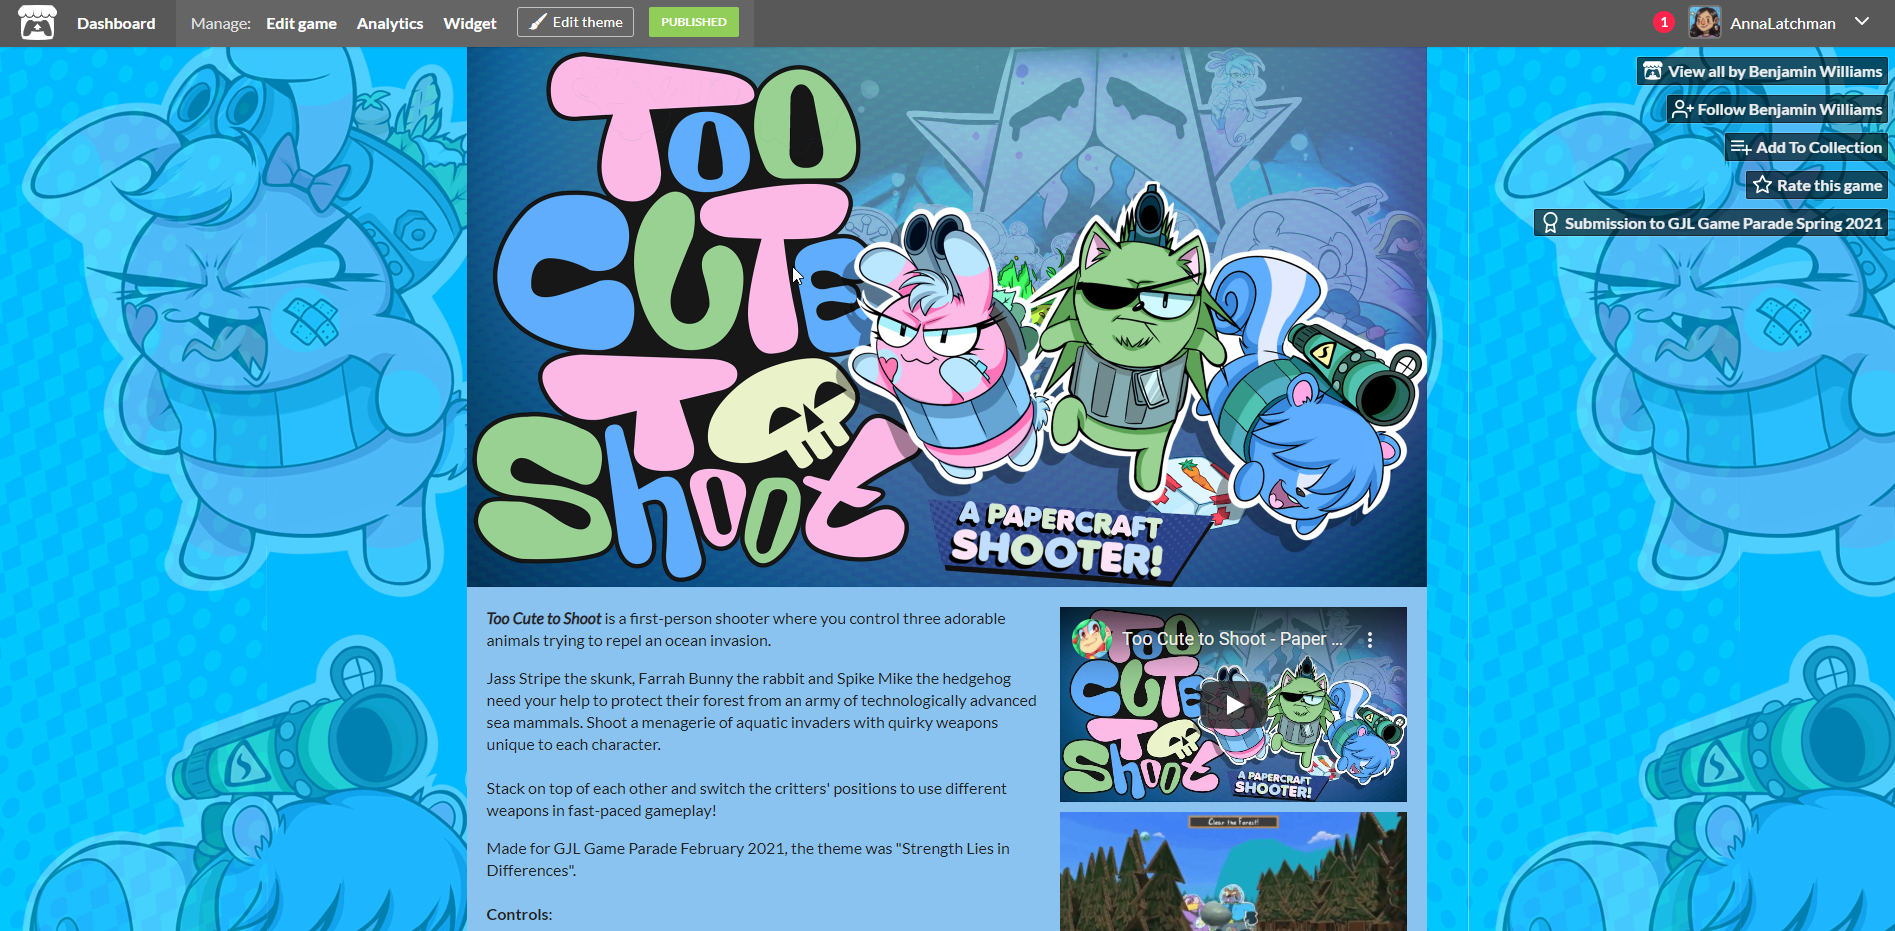
We’re going to assume that the team is already assembled and are ready to make a game. For game jams, the idea generation stage is almost like the main event – taking the prompt and trying to come up with a game that is fun and possible to create in the given time. In person, this can happen just with some pen and paper (and a bit of bashing heads). But if the team is working remotely, it can be a challenge to communicate concepts, particularly if you are listening to a lot of voices with nothing to look at.
In the past I have used Google Docs to allow everyone to write down their ideas, let the team read them and discuss. Now there is a new tool I use that changes the game. Miro is a collaborative workspace that can be used as a whiteboard, for brainstorming, project management and more. Honestly, Miro has so much potential that a lot of the processes I discuss in this post could be done with it, however I will focus on how it can be used for idea generation and share a peek at a previous session.
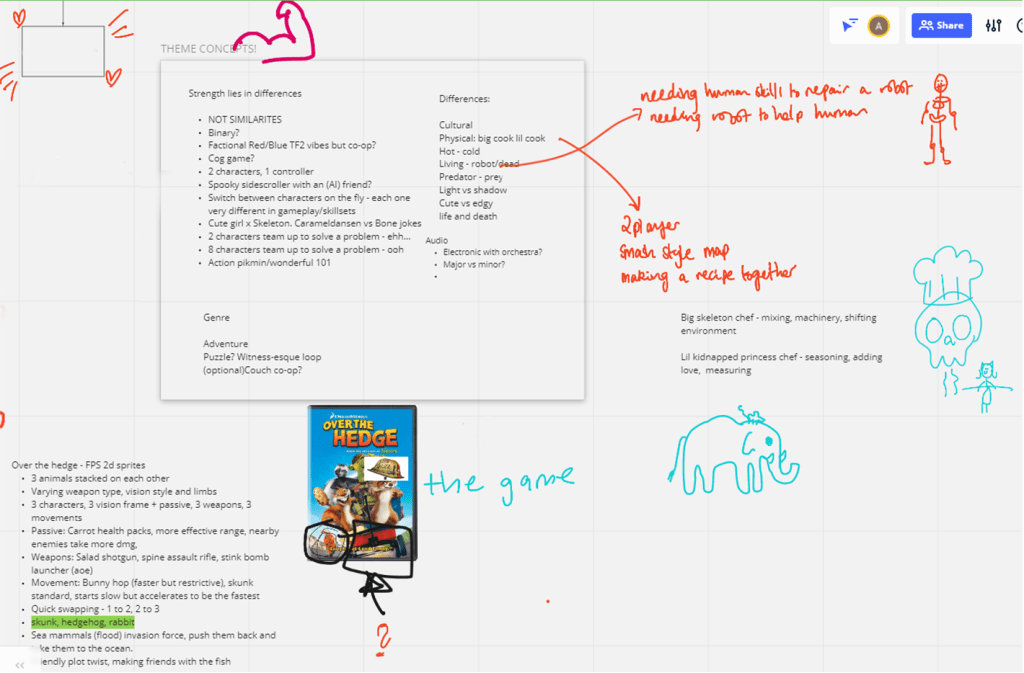
Collaborative whiteboards are not exactly new – Google has Jamboard for example but the features are limited and the possibilities in Miro really outshine the alternatives. The way we used Miro in my most recent jam was just to let everyone run wild and have fun to guide conversation.
2: Project Set Up
Before everyone jumps into action it is important to set up the project and make sure everyone has access to the right tools and information. First and foremost, decide which game engine will be used and what version. The earlier this is communicated the better to allow for download time. Secondly, I recommend using version control like Github so once the game project is made, a repository can follow. It might be a bit scary and you may prefer to throw all your assets at the programmer via Drive but it is useful to learn and takes pressure away from the people who have to implement the work.
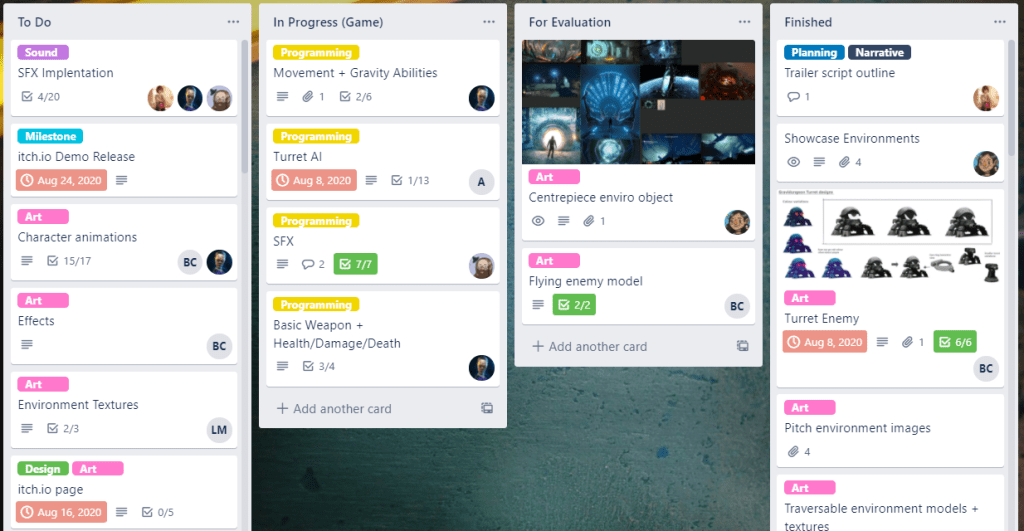
Another important step is creating a Trello and to make sure every team member has access. You could also use Miro too! This method of having a board of tasks is called Kanban and is great for real time projects. Even if the project doesn’t have a producer, I really recommend this so people can manage their own tasks and see what the rest of the team are working on. If you are the producer on the team, a lot of time can be spent here making the board readable with tags, checklists, deadlines and more.
A final methodology that could be used while setting up the project is creating documentation. Now this might sound time consuming but it is extremely helpful so the team doesn’t lose sight of what is being made. I recommend using Google Suite for documents, spreadsheets and storage so everything is easily linked and can be saved in Discord or Trello. Type up a document that outlines the idea for the team to reference and to double check everybody understands the idea once it is written down. Decide as a team what your MVP should be (minimum viable product) so if features have to be cut, you know how far you can go without losing what the game should be. Our pitch documents written by the wonderful Benjamin Williams included the following:
- Title, genre and audience.
- A one liner description of the game or “elevator pitch”.
- Description of the setting of the game.
- An overview of the gameplay, mechanics and what makes the game unique.
- If there is a story or themes, write them down.
3: The Project
Once the idea is established, end the discussion by walking through what each team member will be doing in the next day. Have a time decided when the team gets together each day to discuss what they did, if there are any blockers and what they will do next just like a stand-up meeting in a studio. However instead of doing this in the morning it may work for you to do it in the evening which is what my night-owl teams often do. Avoid using text chat unless sharing screenshots or asking quick questions. Having group calls keeps the team actively involved in the process and motivated to get their tasks done so they can share progress. If there are problems, it can be brought up then and solutions can be discussed live.
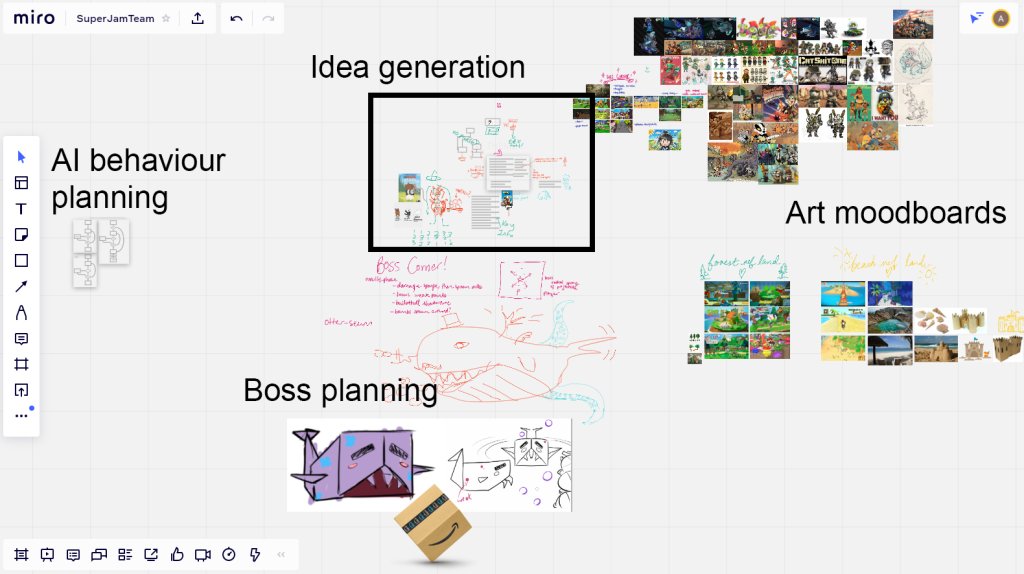
Keeping the Trello updated is most important during development as well as using Discord to schedule meetings and communicate. Miro can also be used by the team throughout the process as you can see below.
4: Supporting your team
When in the position of a producer for a project, it is important to not only keep track of the team’s work but also their wellbeing. Don’t decide how much work they should be doing, find out what is a manageable workload for each person and let the game evolve based on this information. Having team members be upfront about how much they can do is both useful to you as the producer and also relieves them of stress about meeting expectations.
5: Pulling it all Together
These are my bonus tips for when you are approaching the end of the jam. For one day or weekend jams, these may not be relevant but share some insight on how I like to wrap things up.
Firstly: build early not late. Aim to finish a day or so early. You have seven days? Treat it like five, six maximum. The build you submit should not be the only one that has been created and tested, which works against the mini agile project setup you worked hard to establish. I usually have larger teams which gives us the opportunity to have people spare towards the end of the project. For people who finish their tasks early, they should work on testing and preparing the itch/submission page. Finishing early gives time for bugs to be fixed or if the playtest flags up any other changes.
For your itch page, get screenshots, GIFs and credits ready. Either before or after submission, record some footage to create a twenty second video for social media when you want to share your work! Doing a game jam is a great achievement on it’s own but having the professional submission and social media content ready to go helps promote that you were able to make a polished product. Even if the team agree to work on the game a little longer, it helps to act like you’ll never touch it again.
To put it plainly: you just dedicated a lot of time on this game and should tell the world about it! My team make these projects look as legit as we can because this it helps our portfolio and gives talking points for interviews.
The End!
In conclusion, introducing workflows similar to those seen in larger scale development can help create a finished working product without the blood, sweat and tears that can usually occur during a game jam. If working solely or partially as a producer on a short project, having these systems in place provides opportunity to build production skills used in the workplace. Implementing these workflows can give experience of the following:
- Tracking tasks
- Running meetings
- Assessing scope
- Problem solving
- Conflict resolution
